Adding extensions to Chrome enhances your browsing experience, but have you ever wondered how to manually add CRX extensions? In this guide, we’ll walk you through the process step by step, providing insights into saving Chrome extensions as CRX files and manually incorporating them into your browser.
Guinde:
Step 1: Rename and Save as ZIP File
The first step in manually adding a CRX extension is to rename the file and save it as a ZIP file. Follow these steps:
- Locate the CRX file you want to add.
- Right-click on the file and select “Rename.”
- Add “.zip” to the end of the CRX file name.
- Confirm renaming

Step 2: Extract the ZIP File
After renaming the file, it’s time to extract its contents. Here’s what you need to do:
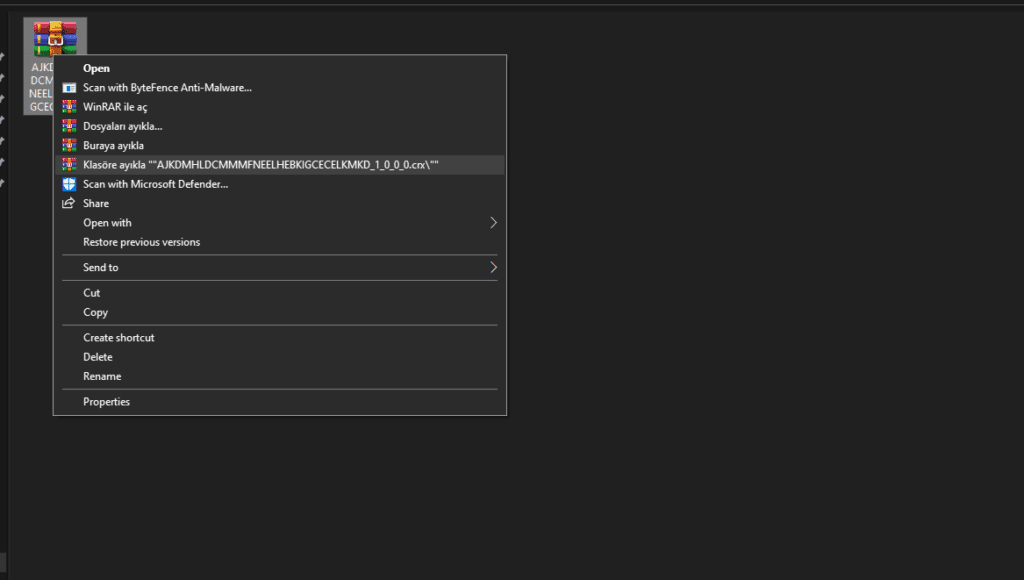
- Right-click on the ZIP file.
- Select “Extract to folder” to unpack the contents of the file.

Step 3: Remove the “Metadata” Folder (if available)
For a clean installation, check and delete the “metadata” folder. If present, follow these steps:
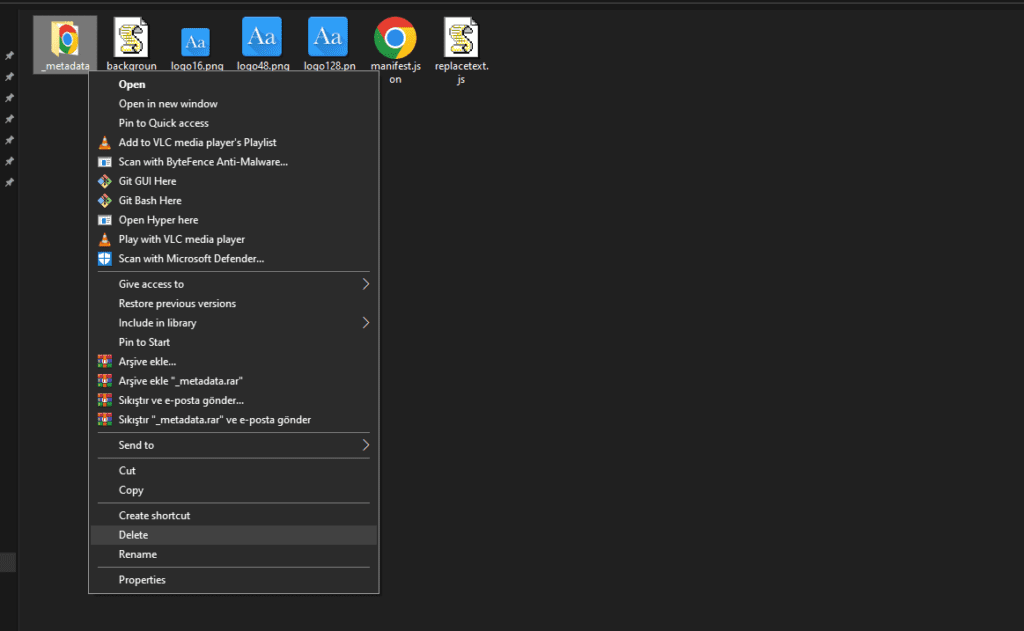
- Open the extracted folder.
- Locate the “metadata” folder and delete it.

Step 4: Remove the “Metadata” Folder (if available)
Open chrome://extensions/ and make sure to turn on Developer mode
Step 5: Manually Add the Extension to Chrome
Now that you’ve prepared the extension, it’s time to add it to Chrome manually:
- Open Google Chrome.
- Go to “chrome://extensions” or navigate to the three dots in the top right corner, select “More Tools,” then choose “Extensions.”
- Enable “Developer mode” at the top right.
- Drag and drop the entire extracted folder into the Extensions page.

Questions:
Is CRX a zip file?
Yes, CRX files are essentially ZIP files. Renaming and extracting them allows you to access and manipulate the extension’s contents.
How do I save a Chrome extension as a CRX file?


